Payment Method is one of the essential configuration while creating new retail store either it is Brick and mortar or online store into Microsoft Dynamics AX for Retail.
We will discuss into this post about payment methods configuration.
Go to Retail>Setup>Payment Method. Here we will get 3 options. A) Card Number, B) Card Type, C) Payment Methods. So first need to click on Payment method.

Now click on New Button and below boxes are activated to fill the details.
Payment Method - Just give some manual Id nos.
Payment method name - Here need to give name of your payment method, Just look at image for relevant payment method names.
Default function - This default function will work for payment methods. Just click it and you can see many functions are available in list.

Now imagine, in this form card payment option is given so how can we decide the type of cards. So for defining the type of cards, functionality we have to go to Retail> Setup> Card type.

Above page is to create setup of card.
Card ID- Just give manual id here.
Card Type name - Need to give manual details about card type name.
Card Types - Here we need to select one option out of given here like international debit card.
Card Issuer - Name of authority of card issuer.
After filling all details we need to click on 'Card Number 'on upper of the above form.

In card Number form, basically we need to define validation of card number on cards. Lets say all ICICI credit card start from *** to ***** which we will be mentioning above.
Now after these configuration we has to link this payment methods to required retail store.
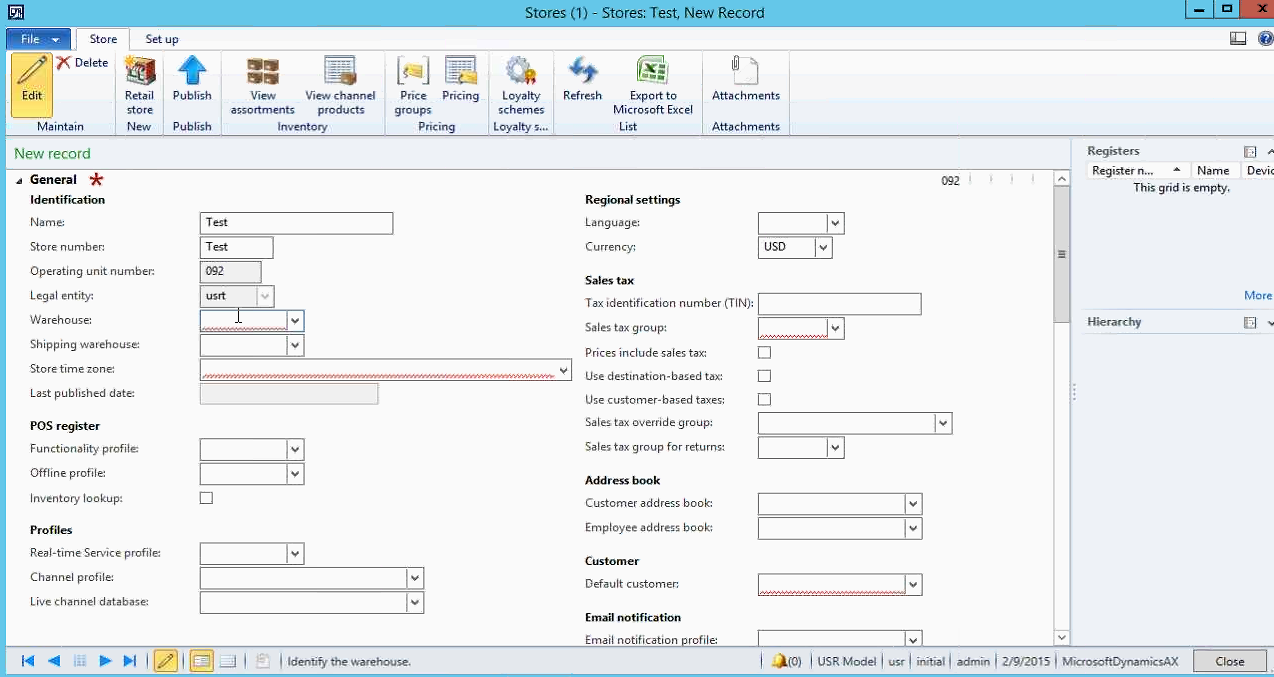
Go to Retail> Retail Channel>Retail Store

Now we will discuss all the required field on this form.
Payment Method- Here all the option will come into drill down. This options are coming from the setup which we have created just now.
Term of payment - you will get drill down options are coming here. These are coming from AR setup which is part of Finance module.
Payment Method Name- Name of payment Method which we are ready to use.
Function - According to your selected payment method default function should be mentioned here.
Operation Name- Which payment method will be used for which operation, we are defining here. for example cash payment method will be used for product sales.
Open Drawer Check box -If we want with any payment method, cash drawer need to be open. we can click this check box.
POS Counter Entries - How much total no of transaction with cash payment method.
Use Signature Device- Whether a signature is required for sales receipt or not. just click the check box.
Signature Capture -Minimum Amount - In case we checked signature device then we need to mention for how much amount customer's signature is required.
Allow over tender -Whether you want to allow to receive amount above the bill amount.
Over-tender Maximum amount- If your answer is yes for above point then need to write the maximum amount of over-tender.
Allow Under-Tender - A check box to allow the permission to receive the partial amount of prepared bill.
Maximum Counting Difference- We can decide how much difference system will allow against sales amount and cash count of tender.
Example - A. Open a shift
B. Sales transaction with cash $100/-
C. Maximum Counting difference is setup as $10
Maximum Re-counting- Define the recounting limits.
Rounding Method - Select the type of rounding that is perform for the payment:
None - Numbers are not rounded.
Nearest-Numbers are rounded up or down to the digit that is specified in the round-off field.
Up-Numbers are rounded up to the digit that is specified int the round-off field.
Down-Number are rounded down to the digit that is specified in the round-off field.
Rounded Off- System gives you option to round off any sales amount til decimals. let say you need to round of an amount without decimal then enter 1.0 or if you decide sales amount till one decimal places write 0.1 int this field.
Minimum Amount Entered - Minimum amount enter for a POS transaction that use payment method.
Maximum Amount Enter - Maximum amount the is allowed when a cashier tries to complete a transaction by using only key at the point.
Minimum Amount Allowed- Minimum amount that is allowed when as cashier tries to complete a transaction by using only a payment key at the point of sale.
Maximum Amount Allowed- Enter the maximum amount that is allowed to complete a transaction by using only a payment key at the point of sale.
We have finished till General and amount fast tab. Following is the Posting & Change Fast tab:

Account Type- We need to select whether transaction posting will be in ledger account or bank account.
Account Number- Select an account. This account is updated when the statement is posted in Retail.
Company- Company name who holds the responsibility of gift cards in case gift cards transaction happens.
Account Type and Account Number- If retailer is using gift cards as one of the payment method then what will be account type and account no for capturing the transaction data.
Difference Account- In case difference arises in which account that will be recorder.
Account Name - Name of difference account.
Maximum Difference Amount-- What will be maximum difference between sale amount and payment amount.
Big difference Account - In case difference goes beyond specified maximum difference that amount will be posted into this account. Need to select account no.
Account Name- need to give big different account name here.
Compress Payment entry- Check or unchecked option to compress the payment entry. It means payment will compress for a specific payment method.
Counting Required- Counting is required every time of statement or tender declaration. Select the check box to require the payment to be counted. In case of clear the check box counted amount will be automatically populated with the transaction.
Multiply in tender operation- Need to check this box to automatically multiply amounts which are entered for the same payment method at the time of tender operation at POS.
Allow Floating- Need to check box if we want to use a payment method like floating cash. Once the registers are running during a shift, payment can be put in register drawer and setup like a float transaction.
Taken to Bank-To define preparing payment method is taken to bank.
Taken to safe- To define preparing payment method is taken to safe.
Use Bank Account- This is check box to active bank account.
Account Type - To be chosen weather to ledger account or bank account used.
Account Number-Need to mention account no to be used.
Bank Transaction Type- Which type of bank transaction will be used.
Use Safe Account - If we want to use safe to take money from cash drawer, we can check box this option.
Account Type- Need to define we need to ledger account and bank account.
Safe Account Number- We need to define account no for safe account here.
Change Line Setup- We can write manual the line will be printed on receipt for change line.
Above Minimum Change Tender- Select the method of payment which will be used to give change. This will only apply in case change amount is over to define minimum change in next box.
Minimum Change- Enter minimum amount this can be given as change once this method is used as payment method.
Note- If we enter 0 or leave this field blank payment method. Payment method that is specified in the above minimum change tender field can always used to give change.
So now I am closing this topic here. In my next blog we will discuss about Bar code and how to do initial setup for that.
Till then happy reading.
We will discuss into this post about payment methods configuration.
Go to Retail>Setup>Payment Method. Here we will get 3 options. A) Card Number, B) Card Type, C) Payment Methods. So first need to click on Payment method.

Now click on New Button and below boxes are activated to fill the details.
Payment Method - Just give some manual Id nos.
Payment method name - Here need to give name of your payment method, Just look at image for relevant payment method names.
Default function - This default function will work for payment methods. Just click it and you can see many functions are available in list.

Normal- Cash transaction comes under this category. So payment method will be cash.
Card- Credit card / Debit card or any other cards come under this category.
Check- Negotiable instrument comes under this category.
Customer- Customer credit comes into this category.
Tender remove/flot- Use this function if you add cash from the point of sale register drawer.
Now imagine, in this form card payment option is given so how can we decide the type of cards. So for defining the type of cards, functionality we have to go to Retail> Setup> Card type.

Above page is to create setup of card.
Card ID- Just give manual id here.
Card Type name - Need to give manual details about card type name.
Card Types - Here we need to select one option out of given here like international debit card.
Card Issuer - Name of authority of card issuer.
After filling all details we need to click on 'Card Number 'on upper of the above form.

In card Number form, basically we need to define validation of card number on cards. Lets say all ICICI credit card start from *** to ***** which we will be mentioning above.
Now after these configuration we has to link this payment methods to required retail store.
Go to Retail> Retail Channel>Retail Store

Now we will discuss all the required field on this form.
Payment Method- Here all the option will come into drill down. This options are coming from the setup which we have created just now.
Term of payment - you will get drill down options are coming here. These are coming from AR setup which is part of Finance module.
Payment Method Name- Name of payment Method which we are ready to use.
Function - According to your selected payment method default function should be mentioned here.
Operation Name- Which payment method will be used for which operation, we are defining here. for example cash payment method will be used for product sales.
Open Drawer Check box -If we want with any payment method, cash drawer need to be open. we can click this check box.
POS Counter Entries - How much total no of transaction with cash payment method.
Use Signature Device- Whether a signature is required for sales receipt or not. just click the check box.
Signature Capture -Minimum Amount - In case we checked signature device then we need to mention for how much amount customer's signature is required.
Allow over tender -Whether you want to allow to receive amount above the bill amount.
Over-tender Maximum amount- If your answer is yes for above point then need to write the maximum amount of over-tender.
Allow Under-Tender - A check box to allow the permission to receive the partial amount of prepared bill.
Maximum Counting Difference- We can decide how much difference system will allow against sales amount and cash count of tender.
Example - A. Open a shift
B. Sales transaction with cash $100/-
C. Maximum Counting difference is setup as $10
Maximum Re-counting- Define the recounting limits.
Rounding Method - Select the type of rounding that is perform for the payment:
None - Numbers are not rounded.
Nearest-Numbers are rounded up or down to the digit that is specified in the round-off field.
Up-Numbers are rounded up to the digit that is specified int the round-off field.
Down-Number are rounded down to the digit that is specified in the round-off field.
Rounded Off- System gives you option to round off any sales amount til decimals. let say you need to round of an amount without decimal then enter 1.0 or if you decide sales amount till one decimal places write 0.1 int this field.
Minimum Amount Entered - Minimum amount enter for a POS transaction that use payment method.
Maximum Amount Enter - Maximum amount the is allowed when a cashier tries to complete a transaction by using only key at the point.
Minimum Amount Allowed- Minimum amount that is allowed when as cashier tries to complete a transaction by using only a payment key at the point of sale.
Maximum Amount Allowed- Enter the maximum amount that is allowed to complete a transaction by using only a payment key at the point of sale.
We have finished till General and amount fast tab. Following is the Posting & Change Fast tab:

Account Type- We need to select whether transaction posting will be in ledger account or bank account.
Account Number- Select an account. This account is updated when the statement is posted in Retail.
Company- Company name who holds the responsibility of gift cards in case gift cards transaction happens.
Account Type and Account Number- If retailer is using gift cards as one of the payment method then what will be account type and account no for capturing the transaction data.
Difference Account- In case difference arises in which account that will be recorder.
Account Name - Name of difference account.
Maximum Difference Amount-- What will be maximum difference between sale amount and payment amount.
Big difference Account - In case difference goes beyond specified maximum difference that amount will be posted into this account. Need to select account no.
Account Name- need to give big different account name here.
Compress Payment entry- Check or unchecked option to compress the payment entry. It means payment will compress for a specific payment method.
Counting Required- Counting is required every time of statement or tender declaration. Select the check box to require the payment to be counted. In case of clear the check box counted amount will be automatically populated with the transaction.
Multiply in tender operation- Need to check this box to automatically multiply amounts which are entered for the same payment method at the time of tender operation at POS.
Allow Floating- Need to check box if we want to use a payment method like floating cash. Once the registers are running during a shift, payment can be put in register drawer and setup like a float transaction.
Taken to Bank-To define preparing payment method is taken to bank.
Taken to safe- To define preparing payment method is taken to safe.
Use Bank Account- This is check box to active bank account.
Account Type - To be chosen weather to ledger account or bank account used.
Account Number-Need to mention account no to be used.
Bank Transaction Type- Which type of bank transaction will be used.
Use Safe Account - If we want to use safe to take money from cash drawer, we can check box this option.
Account Type- Need to define we need to ledger account and bank account.
Safe Account Number- We need to define account no for safe account here.
Change Line Setup- We can write manual the line will be printed on receipt for change line.
Above Minimum Change Tender- Select the method of payment which will be used to give change. This will only apply in case change amount is over to define minimum change in next box.
Minimum Change- Enter minimum amount this can be given as change once this method is used as payment method.
Note- If we enter 0 or leave this field blank payment method. Payment method that is specified in the above minimum change tender field can always used to give change.
So now I am closing this topic here. In my next blog we will discuss about Bar code and how to do initial setup for that.
Till then happy reading.


